reminder

************************************************************************************************************************ Just a little reminder: I do use "retired" items in my projects so current customers can get inspired! You will notice that once you click on the listed items as they will not show up in my SU! store! ALL cards are now posted to Facebook only! So please be sure to click on the link below...

FB

Showing posts with label Tutorial. Show all posts

Thursday, July 27, 2017

Pattern Party

OH MY - the Pattern Party decorative masks in combination of the embossing paste is just too cool. See my card and then don't forget to scroll down on a little picture tutorial to show you how easy it is to do...


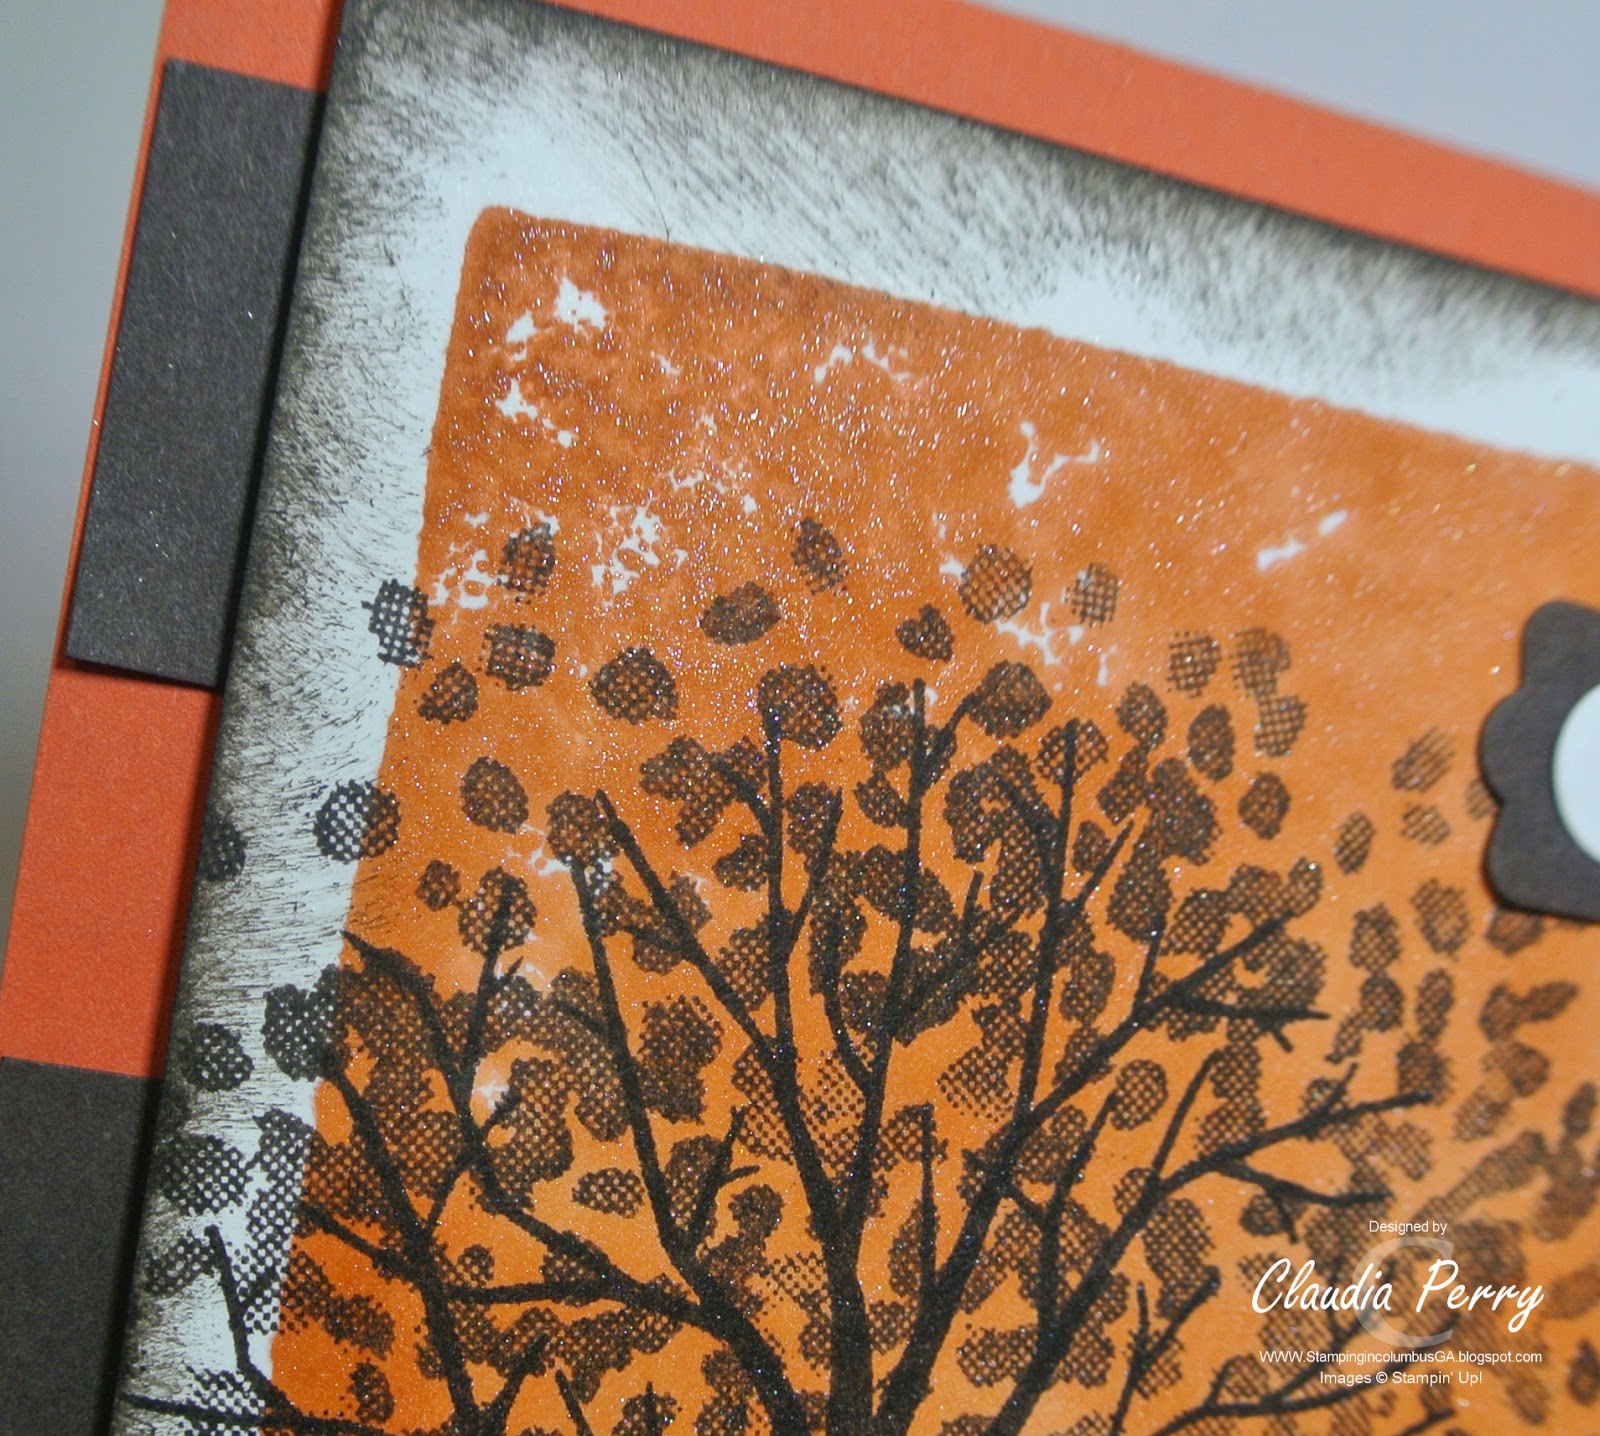
And here is a close up on the paste detail


Click on the picture below for larger view of tutorial:


Tips:
1) be sure to secure your cardstock to work area before adding mask over it
2) use Washi Tape to secure mask in place
3) use post-it notes to cover areas that don't need paste on it
4) cover with paste as desired and scrape off extra paste with long knife for smooth look
4) clean mask and knives immediately, do NOT let paste dry on mask!!!!

Oh and if you wondered how I came up with this vibrant color combo... I didn't! I played along here:


This is what the challenge post said: "The generic colors are Raspberry PinkYellow, and Green.  For your paper-crafted creation, please use just these 3 colors with any neutrals you'd like to add." 

The colors that I chose are:


If you haven't ordered the embossing paste yet, you really should add it and the knives to your next order so you can have this much fun too ;-)


Product List


Sunday, June 12, 2016

Touches of Texture on a scalloped rectangle

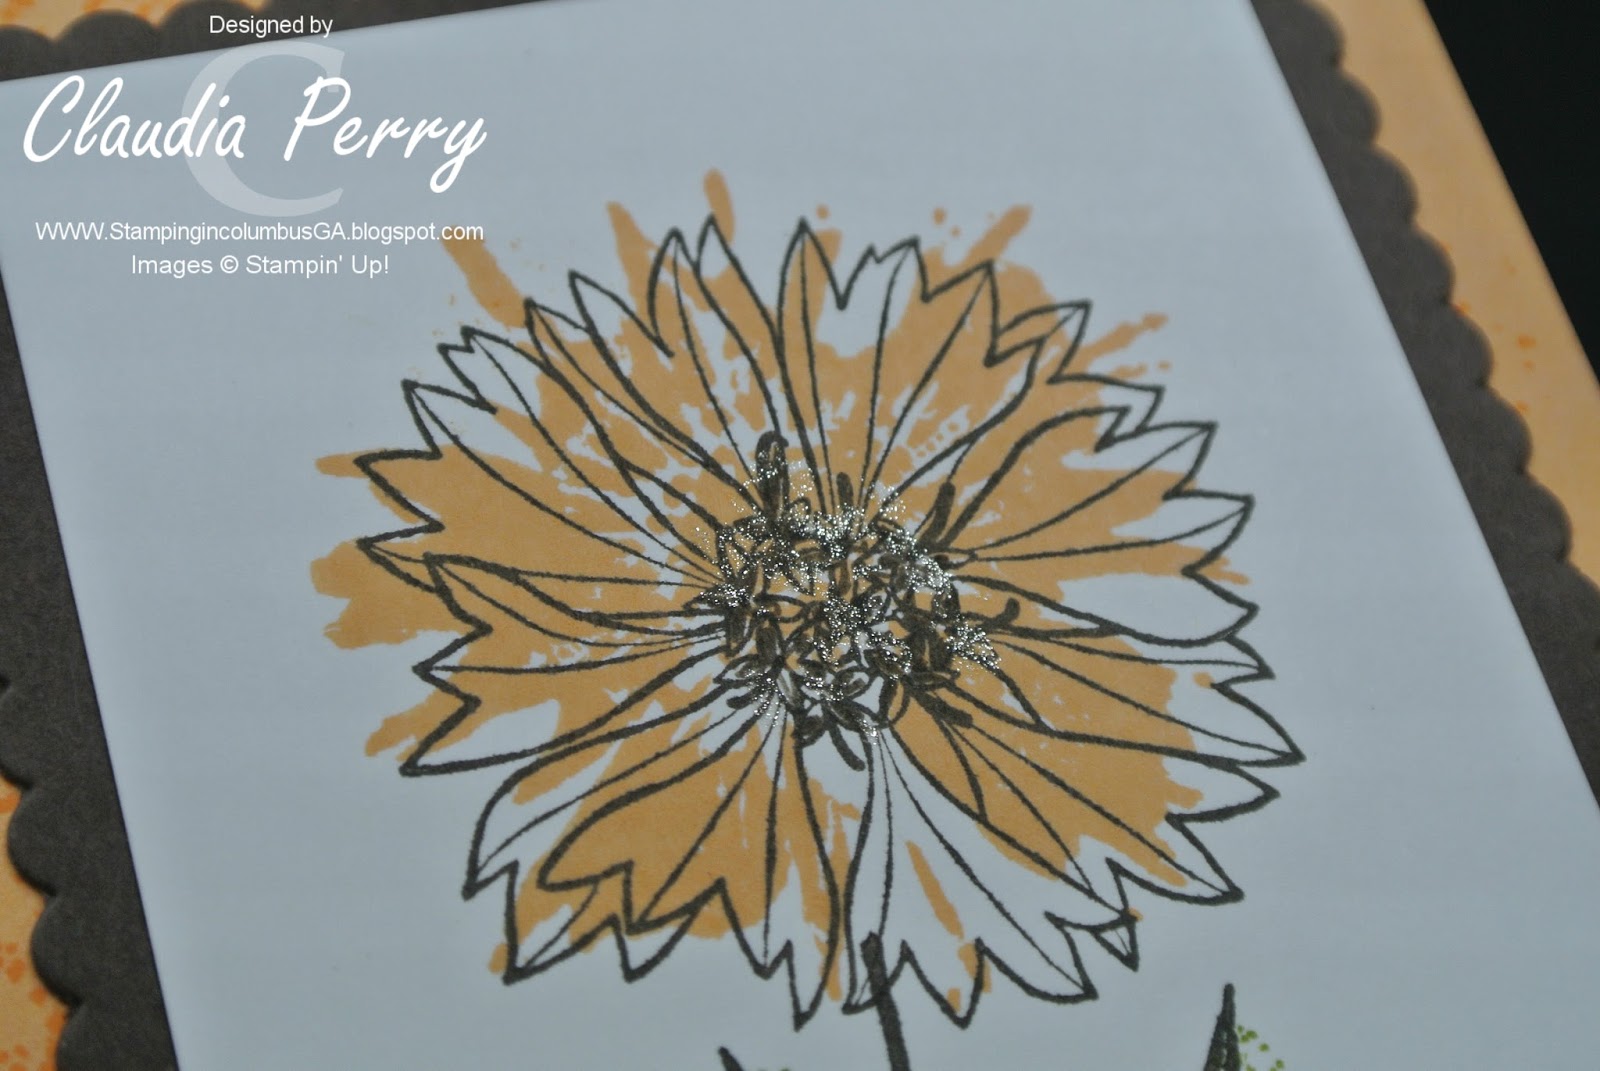
As promised yesterday, I am back to show you how to make a scalloped rectangle. But before I post the video, let me show you the finished card:


BTW, if you take a look at the leafs, you can tell that one is longer than the other, but there is only ONE ''long-ish" filler stamp! So I used a post-it note and placed it right on the stem to cover up the area below and used that same stamp!  Then I've used the long textured stamp to create the background. But I didn't want it to go all the way across the card so I masked off the right side with post-it notes:


And I used some clear Wink of Stella in the center of the flower... here is a closer look:


And finally... here is the video on how to make a scalloped rectangle using our layering squares framelits:


Supplies used:


Friday, February 26, 2016

Rose Garden (Card 2, February Stamp-a-Stack)

This card is the 2nd one of this month's Stamp-a-Stack and it's my favorite!


To achieve this look, we've die cut the rose from black scrap cardstock and used it as a stencil... meaning we placed it onto the white cardstock, held in place and then gently sponged the Watermelon Wonder and Mint Macaron inks over it. Once done we also sponged the outside empty spaces in Soft Sky...

I LOVE how this one turned out!

Here is a little video on how to do the sponging... in case you need a visual:


Supplies used:


Wednesday, April 29, 2015

Video Series "Remember That?": Shimmer Blocks

Exciting News: Today is the day that I finally jump onto the video bandwagon.... Well, not really as I do that for my stamp club members every month for all the projects I demoed... so if someone was not able to come to a meeting they could still learn and catch up.  BUT, those are exclusive to my stamp club members as a thank you to them for their continued support.

The idea of posting videos to my blog had been on my mind for a LONG time... But this week I went to lunch with a dear friend and she brought it up too and gave me the motivation I needed. Thank YOU for that! So now I am going to expand a little and will bring you a video series called "Remember That", which is available to all of you my crafty friends! I am not saying right now how often I will post one, but this is a start, right?!  I would like to cover things that either seem so easy that we forgot or techniques I've showed a while back or just quick tips. So if YOU have something that needs re-visiting, please drop me a note and I'll see what I can do!

Today, I am going to explain how to do the "Shimmer Blocks" Background technique! Mainly because I just posted a card with that technique yesterday (see here) and thought, I wonder how many of my stampers remember this one. So there we go...

Here is the card I made for today's video:


And in case you can't see the shimmer, I have a close up for you too:


Here is the video:


Supplies used (printable list on bottom left):

Built for Free Using: My Stampin Blog

Wednesday, February 19, 2014

February Downline Swaps and a video

Today I am going to show you the projects we worked on at my downline meeting this past Saturday.

We’ve had so much fun hanging out with each other and sharing business ideas that we actually had remind ourselves to start stamping. LOL.

Here are the projects of the girls…

Toya:

toya


Laura:

laura


Tracy:

tracy


Vonetta:

vonetta


And here is my card:

claudia

This is another version of a card I demoed at Stamp Club this month. The Scalloped Tag Topper Punch was used to create the unique gate fold.


It’s way easier than you might think! I’ve edited the video so you can see only the part about that…

Tuesday, May 21, 2013

Creative Elements, Triple Frame stamping (how to)

Today’s card is the card from convention where I learned the technique called “Triple Frame Stamping”.

DSC_0032

How to:

Basically you have 3 pieces of white cardstock, each about 1/2 inch smaller than the other. You temporarily adhere the layers to one another and stamp all the images wanted. Then you separate the layers and add colored layers in-between. Very easy, but what a wow factor! Layers can be popped up to make it even more dimensional…

Supplies used:

Creative Elements, Item #122647  $24.95

image

Petite Pairs, Item #122497  $20.95

image

Daffodil Delight 1/2" Seam Binding Ribbon, Item #125583  $6.95

image

Cardstock:

Daffodil Delight, Whisper White

Ink:

Melon Mambo, Wild Wasabi

Wednesday, May 8, 2013

My Didigtal Studio to the rescue–and Fiji pictures

Today I needed a Birthday Card and I mean, I needed it NOW… because the Birthday is today. Since I was gone for about 10 days, I forgot to mail a real one. So I turned to My Digital Studio (MDS) for help!

This is what I came up with:

uncle bob-001

Weeelllll – when I say “what I came up with”, that’s a little much… because I just used a template from MDS and changed it a little.

Here is the original:

Capture1

Which is actually a journal cover, but I liked the elements, so I just made it into a card.

I changed the opacity of the hot air balloon and the background papers. Deleted the year and words. Then I added the Birthday greeting and “Uncle Bob” in the banner. Speaking of that, do you see that my words are curved as nicely as the banner? You can do that now by adding a line in “freeform”, then curve it the way you need it. Then you select the word box and that line, right click, and select “attach to shape”. You can double click on it to move the text to the desired position and also change color. Lastly, you would change the opacity of the line to 0 to make it disappear and only leave the shaped text behind.

Voila! Only back a couple of days and I already did a mini tutorial. WOW – Fiji was good to me Smile

Speaking of Fiji, here are my photos if you would like to see them:

42


I hope the “slide show” aka arrow to right works, if not – I’ll come back and fix it…

BTW, you don’t have to have a Facebook account to be able to view them, no need to sign in or up!

Thanks for looking. Good Night!

Friday, March 29, 2013

Video: Easy Water Coloring (Swallowtail)

As announced earlier, I am going to share my little video on how to water color the Swallowtail image VERY easily.
As a reminder… here is the image:
close up
And here is the video:

Have fun water coloring!

Friday, July 27, 2012

Dimensional Flowers

… are so in these days! We’ve seen lots of them displayed at convention:

DSC_0272

DSC_0276

The red flower above is sort of like the ones pictured on page 154 of the current catalog.

Last month a couple of my stamp club members wanted to learn how to make those so I came up with a way to do just that.

Now I am not saying that this is exactly what Stampin’ Up! did, but it seemed the easiest way for me:

Have some fun and make lots of flowers!

Wednesday, April 18, 2012

Technique Time

Sunday and Tuesday I held my “Try this Technique” classes for this month. And we had quite some fun!

Here are the cards:

inspired by nature_tech

ornate blossom_tech

If you were not able to come to the class, you can still purchase the online tutorial for $5. (This comes with access to a yahoo group that has the link to my videos, project sheets, and technique page!)

The Tutorial is ready -  Just send me an email so we can make arrangements…